I’ve got a secret devops weapon in the works. At a very simple level, part of it involves running multiple web applications on a single IP, but without having control of the webserver. Well, full disclosure, the applications include built-in tomcat instances and automatically install themselves on separate ports, and figuring out how to hack giant pre-built applications and modify tomcat was obviously not the quick option.
So I decided to do a proof of concept. What I needed was to be able to route requests at the domain level, all ingressing on port 80 (443 and SSL/HTTPS is the next step I suppose), and route them to a local port, all within the webserver (the machine is on Google Cloud, sans loadbalancer, and AFAIK there is no option in the console to handle this at the TCP/IP level).
A quick google turned up two obvious proxy solutions: Apache with mod_proxy, or nginx.
I’m an nginx fan, and haven’t had the opportunity to use it much recently, so I chose to do the PoC with nginx and proxy_pass directives, on a local Ubuntu VM.
The preconditions I wanted to set up were pretty straightforward – I needed two web apps, running on different, non-standard http ports, that were both visible in browser if you added the port number.
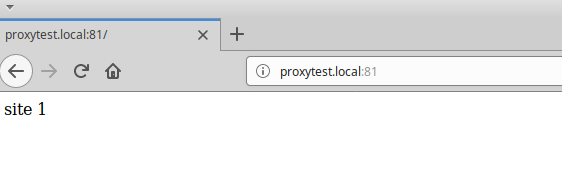
– site1 on port 81, accessible in browser via http://proxytest.local:81
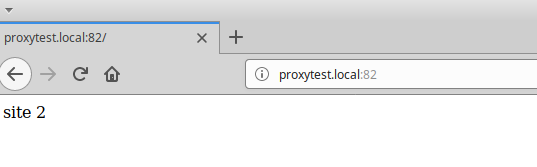
– site2 on port 82, accessible in browser via http://proxytest.local:82
Then end result I wanted to create was also easily defined – two sites, running on the same ip, but different domains, with each domain transparently forwarded to the right application on its non-standard local port:
– http://site1.local forwards to local port 81
– http://site2.local forwards to local port 82
Setting up the preconditions
Install nginx, if needed – if you’re running apache or another process that owns port 80, be sure to stop it first
service apache2 stop

apt-get install nginx
create web files for both site1 and site2
mkdir /var/www/proxy_test;

mkdir /var/www/proxy_test/site1;

mkdir /var/www/proxy_test/site2;

nano mkdir /var/www/proxy_test/site1/index.html;

add whatever text to make site1 identifiable

nano mkdir /var/www/proxy_test/site2/index.html;

add some text to make it apparent this is site2
edit /etc/hosts to make the test domains resolve to localhost
127.0.0.1 proxytest.local site1.local site2.local
create nginx config files for site1 and 2, in /etc/nginx/sites-available
root@ubuntu:/etc/nginx/sites-available# cat ./site1

server {

listen 81;

listen [::]:81;
server_name site1.local;
root /var/www/proxy_test/site1;
index index.html;
# location / {
# try_files $uri $uri/ =404;
# }
}
root@ubuntu:/etc/nginx/sites-available# cat ./site2
server {
listen 82;
listen [::]:82;
server_name site2.local;
root /var/www/proxy_test/site2;
index index.html;
# location / {
# try_files $uri $uri/ =404;
# }
}
… and symlink them to /etc/nginx/sites-enabled to enable the sites
cd /etc/nginx/sites-enabled ; ln -s ../sites-available/site1 ; ln -s ../sites-available/site2
root@ubuntu:/etc/nginx/sites-enabled# ll
total 8
drwxr-xr-x 2 root root 4096 Jul 27 07:56 ./
drwxr-xr-x 8 root root 4096 Jul 27 07:28 ../
lrwxrwxrwx 1 root root 34 Jul 27 07:28 default -> /etc/nginx/sites-available/default
lrwxrwxrwx 1 root root 24 Jul 27 07:56 site1 -> ../sites-available/site1
lrwxrwxrwx 1 root root 24 Jul 27 07:56 site2 -> ../sites-available/site2
restart nginx to apply changes
service nginx restart
verify you can see all the sites in browser, using their port numbers
default nginx page on port 80

site 1
site 2
Setting up the Proxy
So preconditions were set up. Now I needed to figure out how to implement nginx as a proxy to let users access each site by domain, sans port number.
Turns out it was a lot easier than I thought it would be. Just create the proxy config at /etc/nginx/sites-available/proxy_test
root@ubuntu:/etc/nginx/sites-enabled# cat ./proxy_test

server {

listen 80;

server_name site1.local;

location / {

proxy_set_header X-Real-IP $remote_addr;

proxy_set_header Host $http_host;

proxy_pass http://127.0.0.1:81;

}

}

server {

listen 80;

server_name site2.local;

location / {

proxy_set_header X-Real-IP $remote_addr;

proxy_set_header Host $http_host;

proxy_pass http://127.0.0.1:82;

}

}
… symlink it into /etc/nginx/sites-enabled like you did with the site1 and site2 config files above, restart nginx, and viola! Now each site is accessible on external port 80, by domian name.
Site 1

Site 2
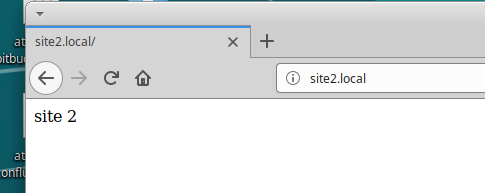
I love you nginx <3
